![]()
![]()
![]()
![]()
![]()
![]()
![]()
![]()
![]()
![]()
![]()
![]()
![]()
![]()
![]()
![]()
![]()
![]()
![]()
![]()
![]()
![]()
![]()
![]()
Station Construction
Part II - Erecting the Towers and Antennas
 The
next step after the bases and anchor holes were poured was to decide how to
erect the towers.
The
next step after the bases and anchor holes were poured was to decide how to
erect the towers.
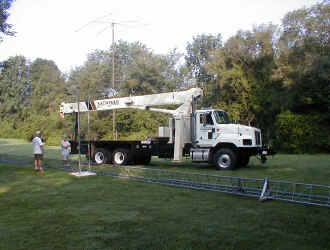
I had a choice of gin-poling up the towers, or using a crane. Luckily PVRCer Norm, W3NRS (now W4NRS) has a tower service and crane, so I elected to use US Tower Services in Frederick, Maryland to work with me to complete the installation.
So the plan was to completely assemble the towers on the ground, including masts and rotors, attach all the guy wires, and hoist the entire tower onto the bases. The crane would then hold the tower in place while the guys were connected, then the crane would hoist up all the antennas.
This would also be a two day project. On the first day, Dave from US Tower Services, with Bob, W9GE, and myself assembled the tower sections on the ground, installed the rotors and mast, and built and connected the guy wires. My guy wires are a combination of polygon fiberglass salvaged from a previous tower installation, new philystran, and steel.
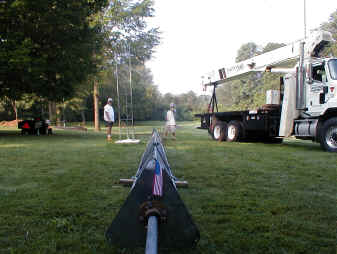 Here
is a picture of the assembled tower laying on the ground, ready to be rigged for
lifting. The mast was inserted into the custom thrust bushing and rotor,
and secured with shaft collars temporarily so it could not slide in or out.
Here
is a picture of the assembled tower laying on the ground, ready to be rigged for
lifting. The mast was inserted into the custom thrust bushing and rotor,
and secured with shaft collars temporarily so it could not slide in or out.
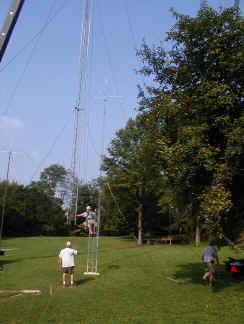
Dave and W9GE discuss the best way to rig the tower for the lift. In the end, all it took was a couple lifting straps rigged about 2/3 of the way up the tower.
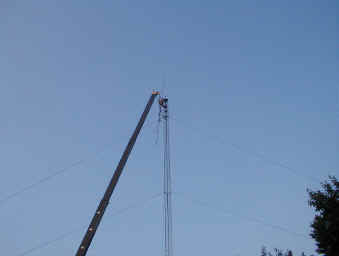
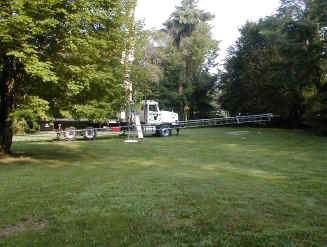 Here
the crane starts to lift the first tower with ease. Using
the crane made for a very fast install. We put up both towers, and all the
top antennas, in one (long) day!
Here
the crane starts to lift the first tower with ease. Using
the crane made for a very fast install. We put up both towers, and all the
top antennas, in one (long) day!
But I felt it was well worth the money, I did not want to spend weeks building the towers and arranging for help. Difficult problems like inserting long masts (one of mine is 23 feet long) are not an issue when the whole thing is hoisted up at once.
 Here
the crane brings the completely assembled tower to the base section to be
attached.
Here
the crane brings the completely assembled tower to the base section to be
attached.
When you get to this point, you had better hope that everything you planned was correct! I had marked the tower as to their orientation, and very carefully calculated the guy wire lengths, and even though these were my first towers, everything turned out just fine.
I guess all that time being snowed in the previous winter was actually a good thing, it gave me lots of time review the plan, over and over.
After the bolts were put in the base section, W9GE and myself ran around attaching the guy wires. Then the crane was able to release the tower and begin hoisting up the antennas.
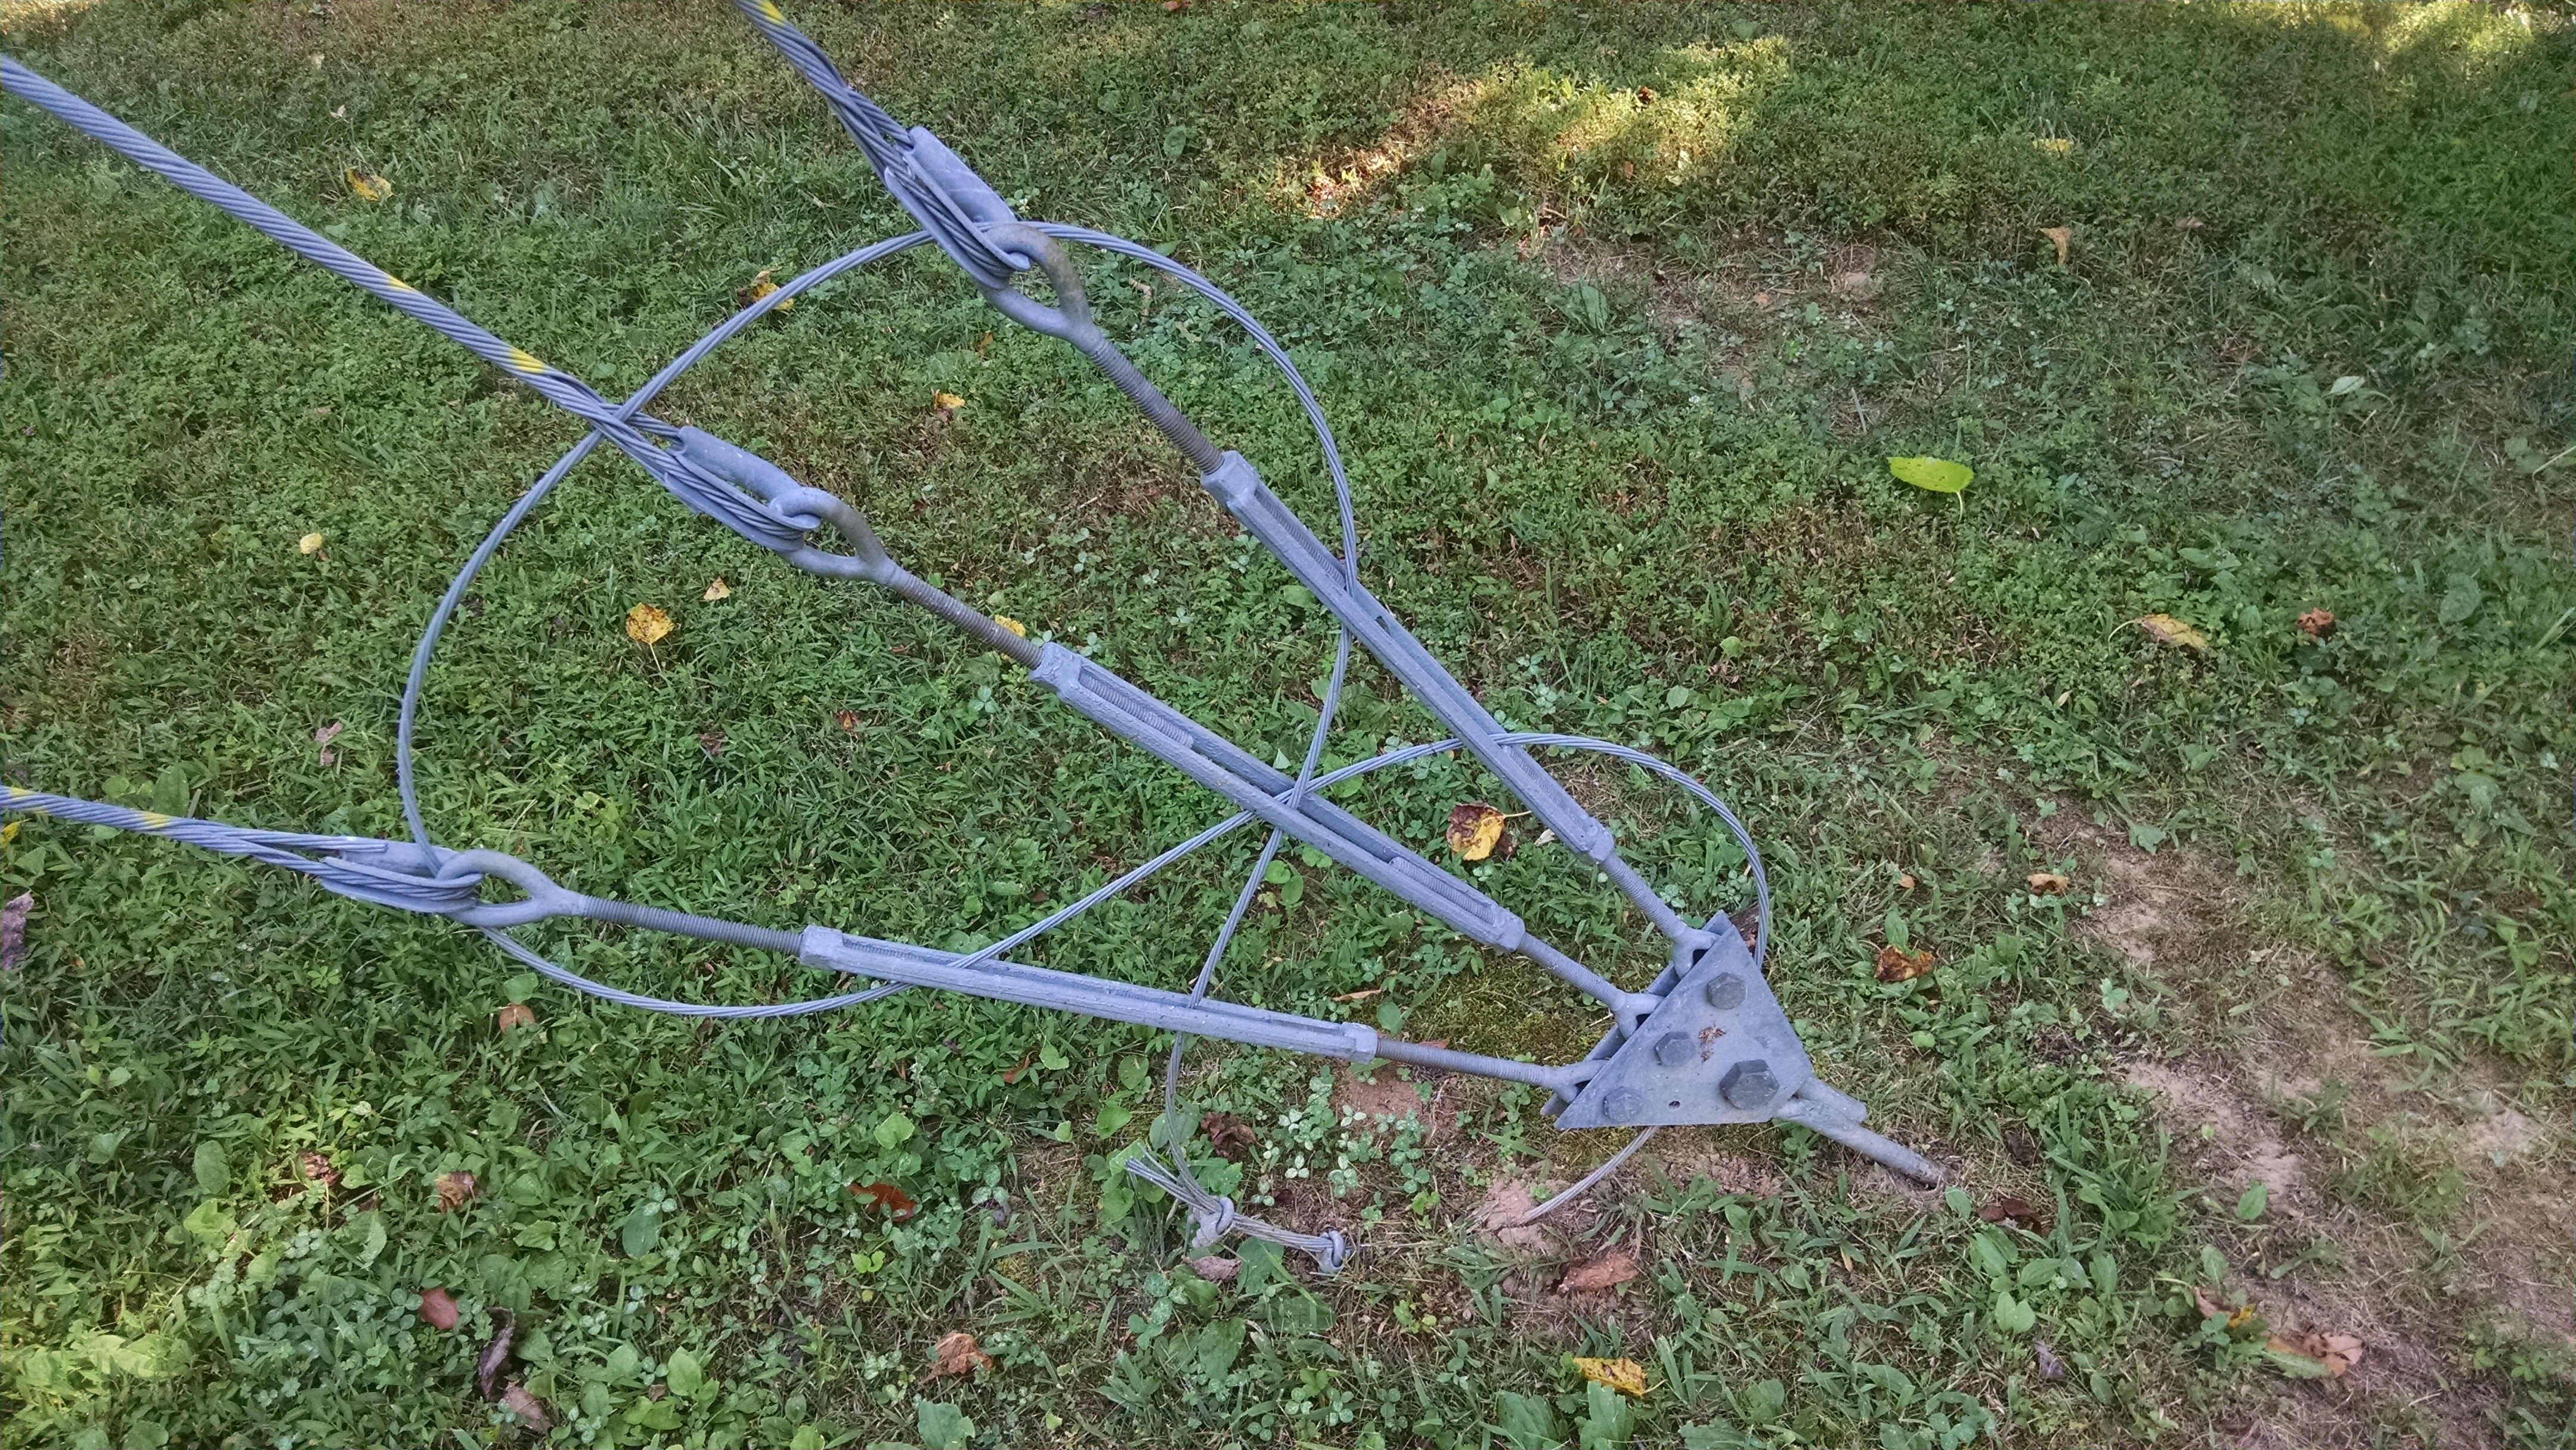
Picture of a completed and properly dressed guy anchor assembly. This shows the big grips with thimbles on the end of the guy wire, a 1/2" X 9" eye-eye turnbuckle, the equalizer plate and proper securing of the turnbuckles to prevent tampering.
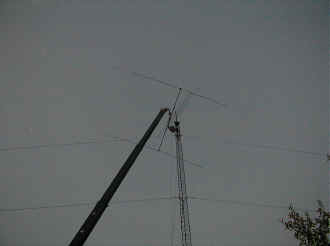
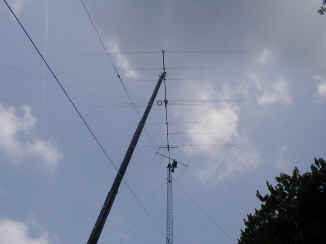 After
the tower and guy wires were attached, Buddy from US Tower Services climbed up
the tower, while Dave hoisted the Bencher Skyhawk into position with the crane.
After
the tower and guy wires were attached, Buddy from US Tower Services climbed up
the tower, while Dave hoisted the Bencher Skyhawk into position with the crane.
In this picture, the 6m yagi is already mounted, while the crane swings the upper tribander into position.
One nice feature about the Skyhawk is it's mast plate. The mast plate with U-bolts is already mounted to the mast, and the antenna has a mating plate that locks into the other plate while the bolts are attached. All the antennas had their feed pigtails attached and coiled up before they were lifted.
 By
now, we had done a lot of work. Two towers were installed, and the
antennas were up on one of the towers.
By
now, we had done a lot of work. Two towers were installed, and the
antennas were up on one of the towers.
It was time to finish the antennas on the second tower, hopefully before it got too dark.
First, all the VHF antennas were hoisted up at once. They are so small you can hardly see them, even though they are relatively big antennas for VHF.
Each antenna was attached, then the mast was jacked up into position for the next antenna. I should mention that the masts were marked on the ground for the exact position of each antenna, making it much easier for Buddy to make sure the right antenna was where it should be.
 The
last antenna to be mounted with the crane was the upper 40 meter yagi. By
now, it was getting dark and we barely were able to get the antenna mounted
before it became too dark to safely operate the crane.
The
last antenna to be mounted with the crane was the upper 40 meter yagi. By
now, it was getting dark and we barely were able to get the antenna mounted
before it became too dark to safely operate the crane.
I decided to stop at this point, and I would hoist up the 903 and 1296 loop yagis myself the next day using a rope and pulley.